Obtain the bridge line from the administrator who created the private obfs4 bridge. It will look like the following.
(The backslash appears in the sample bridge line below to indicate that a line break is escaped. The actual bridge line is a single line. Remove any line breaks before you use it.)
Bridge obfs4 123.45.67.89:443 095B40360EEE62CD7C5DDA081D1C7AA811513A9E \
cert=s1PecFWx4/ycKB9U/eT4n7jZB68LumMIJdG5RcXPr9zlOxfZqAz4vY0FBv8iam1gYFITeQ \
iat-mode=0
On your PC, visit
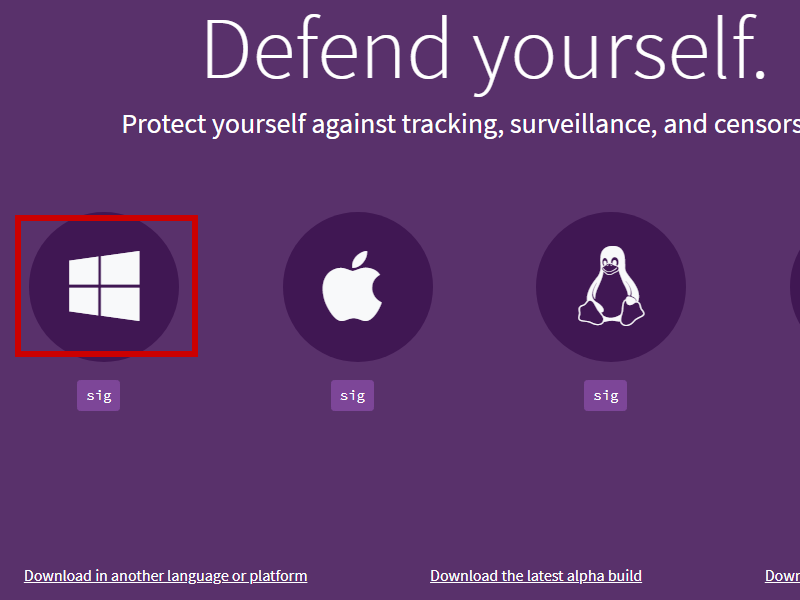
https://www.torproject.org/download.
Scroll down until you see the Windows logo.
Download the Tor Browser installer for Windows.
It will have a name such as torbrowser-install-win64-9.0.2_en-US.exe.

If you cannot reach the official site, you may be able to download the Tor Browser installer from a mirror.
Run the Tor Browser installer.
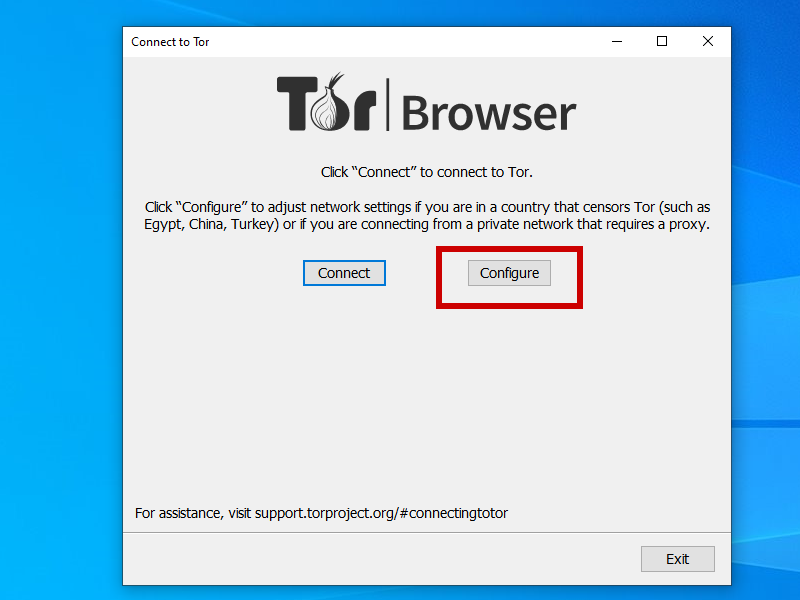
English. Click OK.Install.Finish.If you used the default, Tor Browser is installed to your desktop. When Tor Browser launches for the first time:
Click Configure.

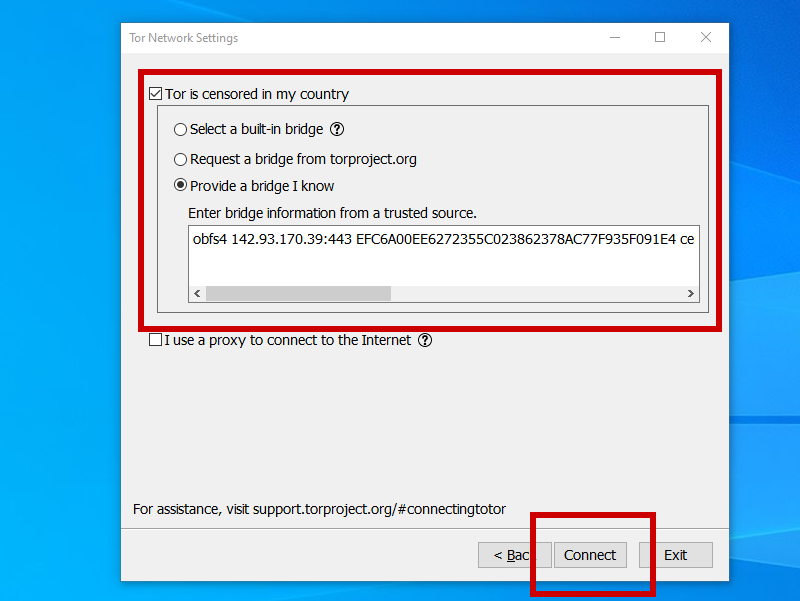
On the Tor Network Settings screen:
Tor is censored in my country.Provide a bridge I know.obfs4 ... etc ... iat-mode=0.
There is no need to enter the word Bridge at the beginning of the line.Connect.
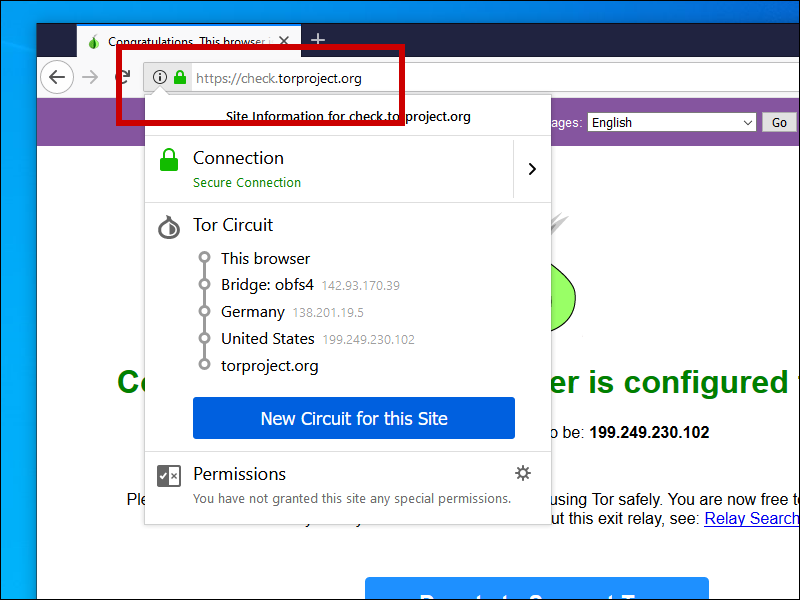
Once the Tor Browser connects, visit https://check.torproject.org. Look for the message:
Congratulations. This browser is configured to use Tor.
In Tor Browser, click the i with a circle around it.
Your bridge address shows as the first node in your circuit.
